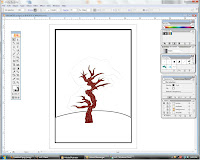
 Step 1:
I opened my sketch in Illustrator and set it as template. Firstly, I traced the trunk by using pen tool and colored it.
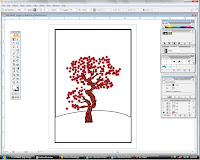 Step 2:
Next is the leafs. For this, i did my own leaf template by using pen tool. I decided not to use the normal leaf shape, instead i used star-like shape. This for the creative part. Heh. After that, I arranged the leafs, and its going to be a few layers with different colors. The first layer is maroon-ish in color.
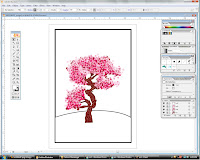 Step 3:
For the next few layers, i simply repeat step 2, but using different color tones, this to create the color shades so that it will look more realistic. After that, i added the details to further enhance the overall look. Now it look better doesn't it?
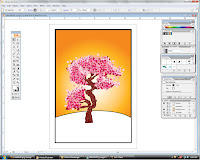 Step 4:
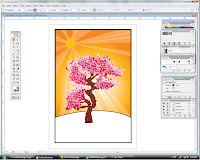
After completing the most hardest part, now lets add a background for the lovely tree. Well, to make it simple, i used gradient fill as the background. Orange and yellow for the color fill. Radial gives the best effect when combined together.
Step 5:
We've completed the background. Next is to add a few details. After much consideration, a bright sunny day sun would be the best idea instead of birds, clouds, or whatsoever. The sun is created by using ellipse tool. There are multiple layers for the sun, each with different level of opacity. As for the sun shine, i used the pen tool, again, and added different layers with different level of opacity and colors. The concept is mix and match. Very simple.
 Step 6:
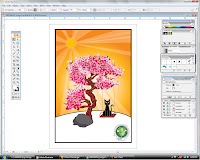
To complete the whole illustration, I've added other elements to go with the tree. All are created by pen tool. Fyi, pen tool is my fav tool in illustrator. hoho. For finishing touch, the awareness symbol is added to the illlustration.
There you go, the step-by-step process for my illustration.
Cheerio,
.jpg)

No comments:
Post a Comment