Step 1:
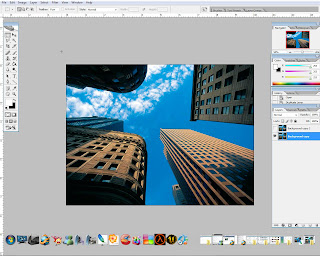
Open skyscraper.jpg in Photoshop. Here's the original skyscrapper image that is going to be used as background. The overall color seems to be quite dull, so to make it interesting i'm going to use HDR efx to give the background a new overall look. Well its not a real HDR effect, but something close to HDR.
 Step 2:
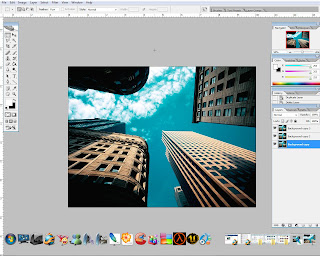
Multiple layers with different layer settings are used to make up the so called HDR efx. The idea is to play around with different BLENDING MODE to achieve nice effect. In this case, i altered the color of the sky and clouds, plus a lil bit of lighting for the sky scrappers. This is just to enhance the surrounding environment.
Step 3:
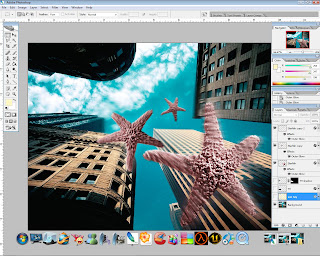
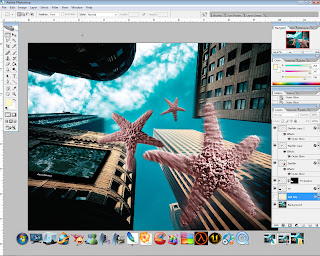
Next is to add the star fish. Since the overall color of the background has changed, i think it would be better to change the color of the star fish also, so that they will blend better with the background image. After that, OUTER GLOW effect is applied to all star fish image with different level of opacity and fill. To get the falling efx, a mixture of GAUSSION BLUR, RADIAL BLUR , and FADE filters are used on each and every star fish image. Play around with the values to achieve good efx. We want to make it look as natural as possible without much exaggeration.
 Step 4:
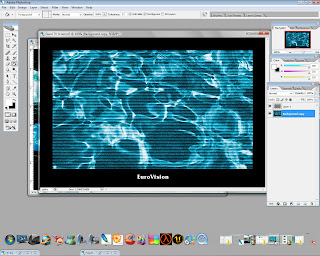
Next is the LCD TV screen. If the original image is used, it might interrupt the overall look and feel. Therefore, to make it blend in with the rest of the images, i've decided to change the color of the screen itself. Very simple, just use HUE/SATURATION, mark the COLORIZE option box, and use the sliders to get different combination of color. Again, the idea is to get it blend in well with the background image. The image still lacks in realistic, so SKETCH>HALFTONE PATTERN filter is used to render the real TV efx.
Step 5:
Next is to place the LCD TV created earlier to one of the building. FREE TRANSFORM tool is used to adjust the image so that it is aligned well with the building. Now, the TV needs some shadow, so DROP SHADOW efx is added and placed underneath the TV image. Adjust the opacity necessarily.
Step 6:
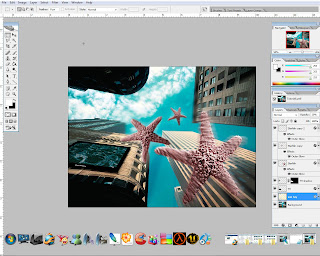
Lastly, i 've added a sunray efx to the overall image, to achieve a sunny day look. Its hard to see the efx actually, because the opacity of the layer is set to 15%. Anyways, im happy with it and i think the image look better now!
+cheerio+
.jpg)

No comments:
Post a Comment