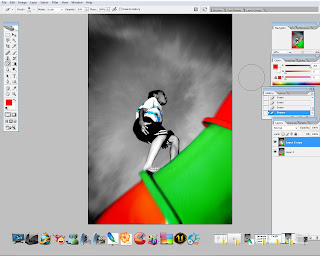
Open any of the 3 images provided. I chose the image of a boy playing at a playground. Duplicate the image. Next use DESATURATE to turn the top RGB image into Black and White. Then i opened EXPOSURE and play around with the sliders to fine tune the image.
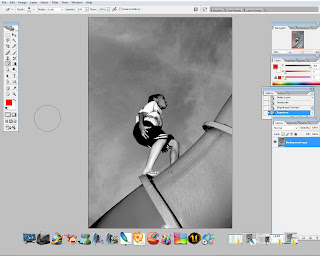
Step 2:
By using MAGNETIC LASSO tool, one part of the pipe is selected. Next ERASER is used to clear off the highlighted part. To change its color, open up HUE/SATURATION, mark the COLORIZE option box, and adjust accordingly.
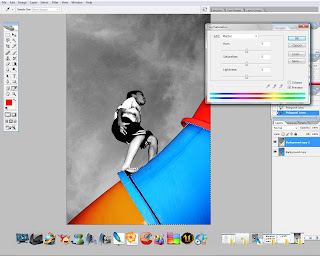
Step 3:
For the other part of the pipe, just simply repeat step 2 to yield the same result. Also, for the monster cookie printing on the boy's t-shirt as well.
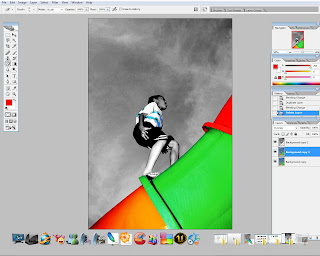
Step 4:
This is an additional step. Next a new layer is applied. Then, select RADIAL GRADIENT tool, and set the color to black and white. Apply the gradient and change the blending mode to OVERLAY. This to make it blend with the background. Use ERASER tool to clear off unnecessary portion of the gradient.
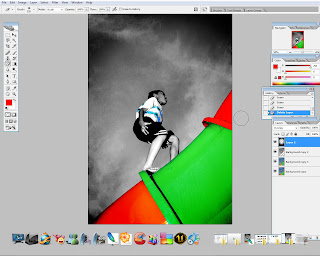
Step 5:
To finish off, merge down all layers. After that, RADIAL BLUR filter is applied to the image. the function is to create zooming efx.
.jpg)

No comments:
Post a Comment