Step 1:
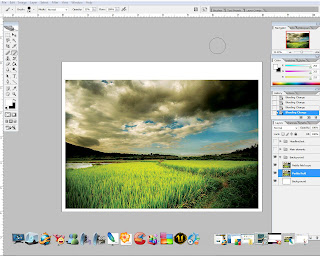
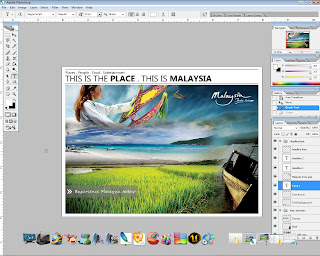
Create a new document and set the background to white. Open Paddyfield.jpeg and place the image in the middle of the canvas. By using TRANSFORM tool, slightly resize and adjust the image accordingly. Next, duplicate the image and set the BLENDING MODE to SOFT LIGHT. The purpose is to richen the original color of the image. Sometimes the image may look dull or faded, therefore by applying this step it will further enhance its original color.
Step 2:
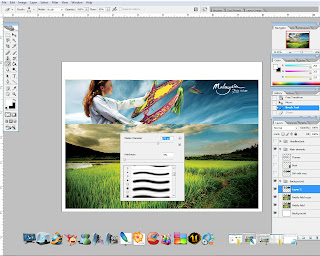
For the main element, several images will be used but the steps taken are pretty much the same except for the image arrangement. We start by opening Girlwau.jpeg. Drag the image over Paddyfield.jpeg and place it at the top. Since the image is small, again TRANSFORM tool is used to resize the image. Now that the image is aligned, next step is to make it blend in with the background image. The trick is very simple, hit E to activate ERASER tool and select FEATHER ROUND BRUSH. Set the brush OPACITY to 20-30% and start erasing the unecessary part of the image. The idea is to make it look like its part of the background image.
Step 3:
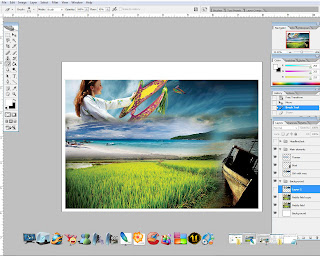
After done with the first element, lets proceed with the rest of the images. Step 2 is repeated on each and every image. This to ensure the color of all of the images will look even. If step 2 is not repeated, all of the images will not blend in well together. The images are placed accordingly to create a nice overall flow balance without making it look scattered all over the place.
Step 4:
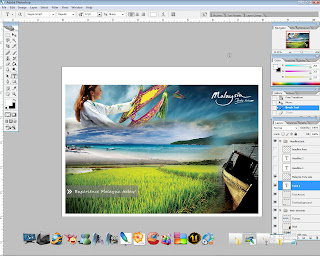
Now that the main element is completed, a little adjustment on CURVES and LEVELS are made as a final step to finalise the image. The purpose is to adjust the brightness and the overall color. As a result, the image look more vibrant than before. Next i would like to add a small tag on the corner of the image along with a message. A rounded rectangle with 20px radius is created by using RECTANGLE tool, and light grey as fill. Select ERASER tool, SQUARE brush, and erase one end of the rounded rectangle. After that, set the OPACITY to 50%. The background for the tag is done. "Experience Malaysia today !" text is added to the tag (white SEGOE SCRIPT font, 12pt font size).
Step 5:
For final touch, a headline is added at the top of the image. Also, two horizontal lines are created to wrap up the headline (LINE tool, 2px weight), this to make the headline look neater. Assignment 1 is completed.
.jpg)

No comments:
Post a Comment